

DIY: Graphic Muscle T
7:52 PM
Hello Everyone!!
Today's DIY project was inspired by one of my favorite bloggers and that is SarahHawkinson.
I love her style its so unique, I just love her blog!
She wears a lot of muscle T's, so because I have so many random over sized graphic T's I decided to DIY them.
This was seriously so easy, but I still wanted to share with you all where I got my inspiration and what I did with it.
This was seriously so easy, but I still wanted to share with you all where I got my inspiration and what I did with it.
Graphic Muscle T
All you will need:
Graphic T
Scissors
Colored Pencil

Step 1: Pick a T shirt
Here's what I'm working with.
I've been told these birds are so ugly (lol) but I think its a cool design and the shirts themselves are so soft and comfortable that I don't care.
Step 2:
Take your Graphic T and lay it on a flat surface so that it's even.
Step 3:
Decide where you want to start cutting your T shirt.
I started under the arm pit to not have any extra material.
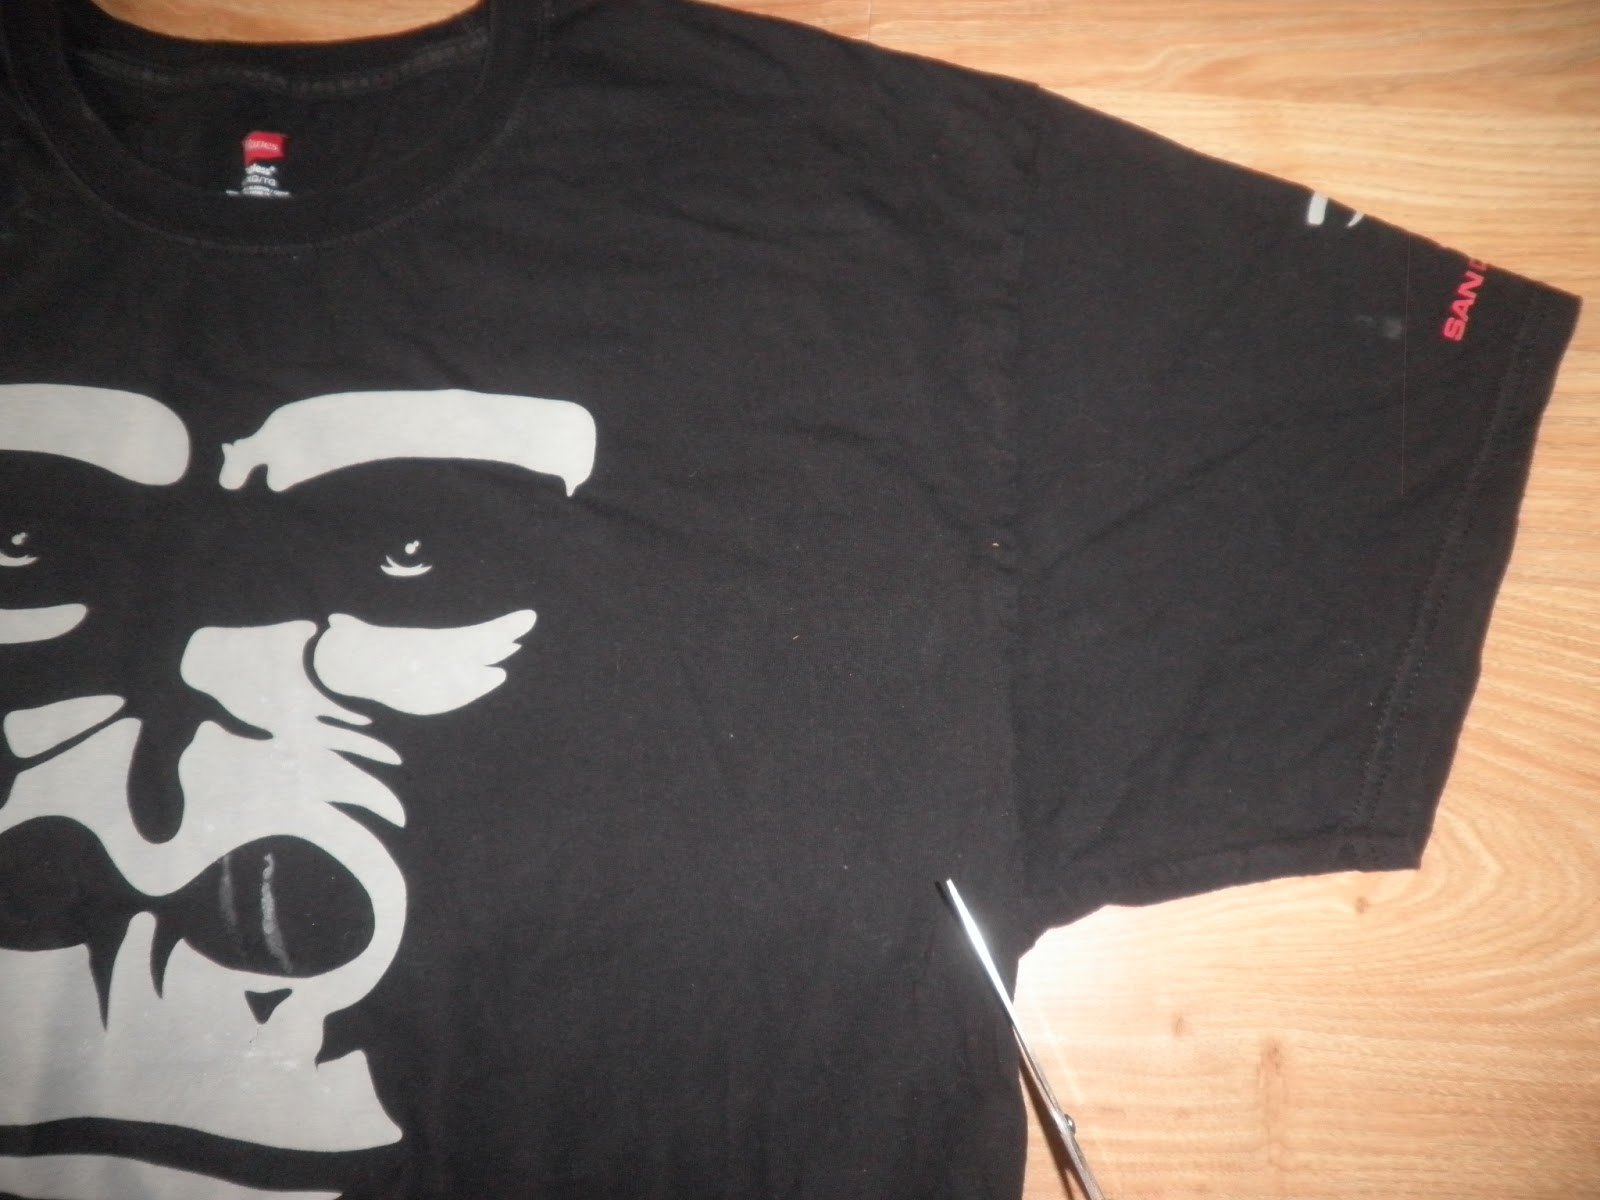
Try to cut as straight as possible, but this is not meant to be perfect and trust me mine was far from perfect.
But that's the point.

Step 4:
Fold the shirt over to the other side and make it as even as possible.
Begin to cut around the same spot as the first sleeve.

Quick Tip:
Cut with one hand and with the other tug on the shirt to keep it straight. This will make it easier to guide the scissors to cut where you want.


If you want and if your shirt is long like the one I'm using, cut the bottom of the shirt.
I decided to do a high low at the bottom since the shirt is so long.
Step 5:
Use a colored pencil to outline where you will be cutting.

Begin cutting and shape it how you want.
Finished product.

I think it turned out great!
I can't wait to style these let's see how it turns out!!
I hope you enjoyed this post and if you give it a try let me know or share with me on Instagram with the hash tag #dailydiarybygabriela.
Thank you so much for stopping by!


2 comments
What a great idea!! Xo
ReplyDeleteTry it out!! and show me what you come up with :D
Delete